Ok everyone here is Project "Wing It" if you will. Keep in mind as you are going thru these pictures that this is the first project of this type that I have ever taken on, so this is very unfamiliar territory. The pictures are in no order which really sucks but this is the order of operation that got me to the point I am at now.
First I started by removing tube bumpers, all the paint, body putty, and rust from the side panels, tail end, hood, and front cowl. I learned very quickly that since my plan was to cover up the sides anyways with treadplate that i had made a hell of alot of extra work for myself. Second I tried to remove all rust with angle grinder (I also sprayed it with rust stopper). Next I used wire mesh and body putty to fill in some of the old rust spots - however since the sides were getting plated anyways I didnt spend alot of time getting them perfect. I tried to spend the extra time and effort on the places that were going to be visible.
Next, I sprayed both sides, tail gate, inside of fenderwells, and all the the frame with undercoating. I then built the bumpers out of 2"x4"x3/8" steel. Next I traced the side panels on to a 4'x8' sheet of 11 gauge steel treadplate, I had a neighbor plasma cut them out at his shop. Built some rocker panel/running boards out of 2"x3"x3/8" angle. Next I recieved my DIY tube fenders that I ordered from Blue Torch Fab.
There is some pics of the the bumpers and fenders being held on by bungie cords because I wanted to see what they were going to look like. Next I welded up the fenders and got them mounted. Then I started to attach the treadplate, I used the biggest rivets I could find to suck it up tight, there are approximately 80 rivets holding each side panel on. The corners I heated with a torch and bent them around by hand (BIG PITA). I cut out holes for the after market tail lights and got them mounted in place. Got all of the exterior minus the windshield frame under primer.
For those of you who dont know I traded Aaron a CJ tailgate for some xj Springs to stretch the rear end, well I couldnt do this yet because the pumpkin was going to be hitting the gas tank, so I spent last weekend recessing the gas tank and that is where I am to this point. I still need to build a housing for it and a skid plate to protect the bottom of it. Next is stretch this bad boy. Any and all advice is welcomed.
http://s660.photobucket.com/albums/uu323/gdowling/ - This takes you to all of my pictures!
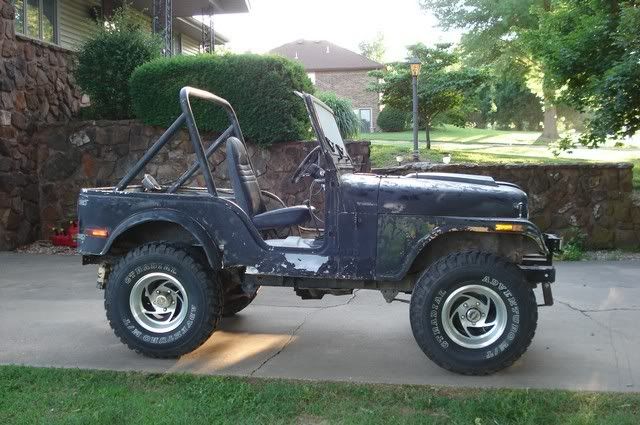
This is basically what it looked like when I started minus the bumpers.
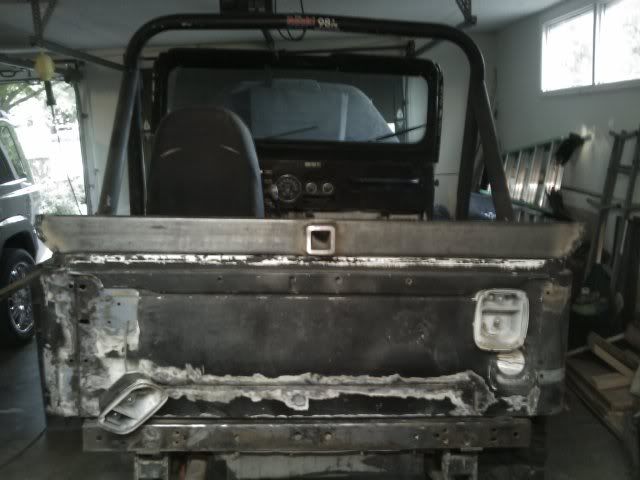
Removing some rust and the old tail lights.
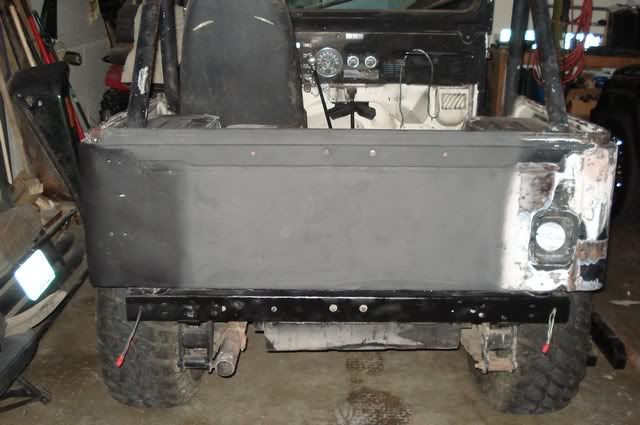
After I did some body work. This is basically what I did on both side panels as well.
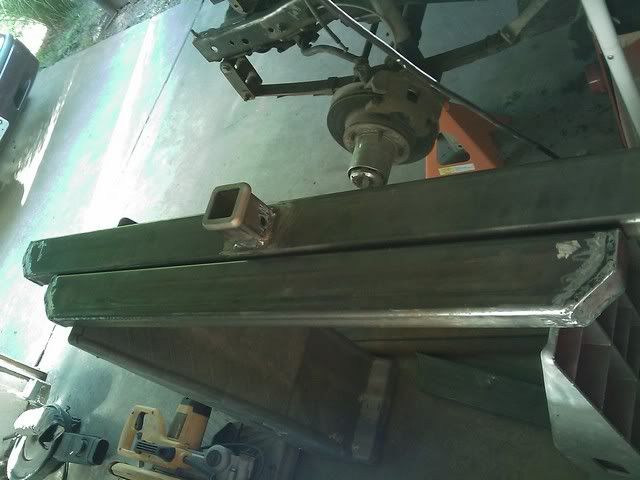
Here at the bumpers I built that I was refering to earlier.
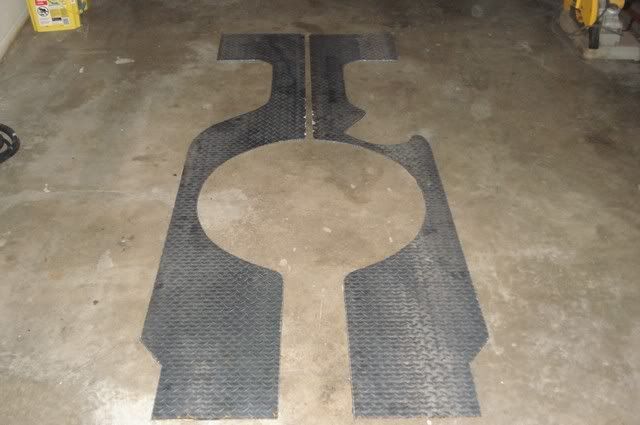
Here are the side panels after they got cut out.
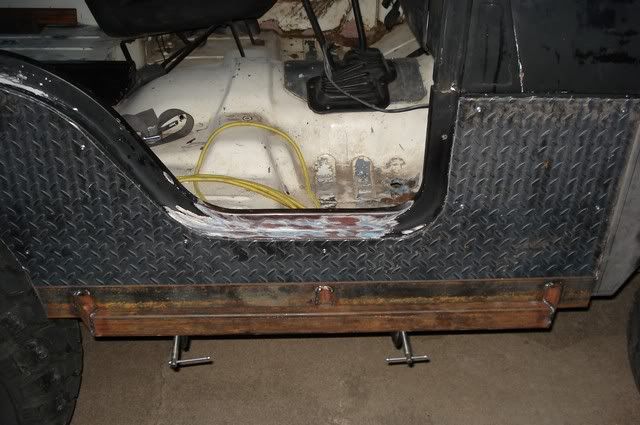
These are the rocker guards/running boards I built.
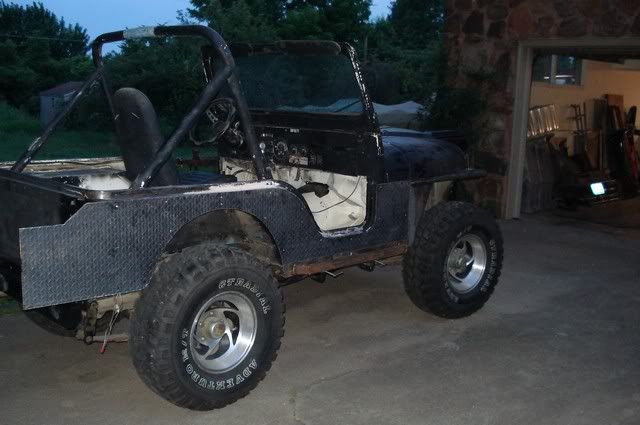
This is after I got the passenger side tread plate on. As you can see I haven't got the corner bent yet.
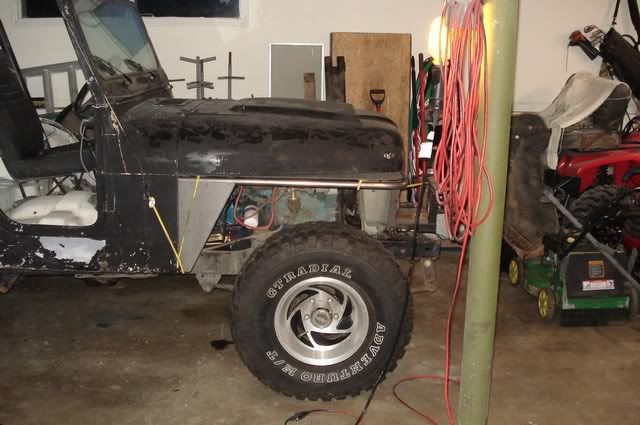
I mocked up the new DIY fenders to get a feel for what they would look like.
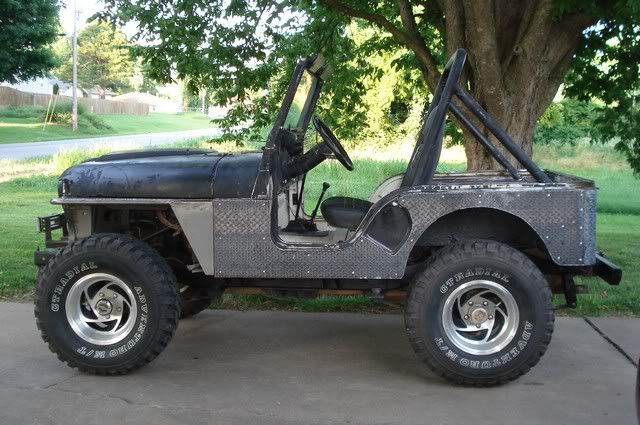
Here is a shot with tread plate, and fender on and ready for primer.
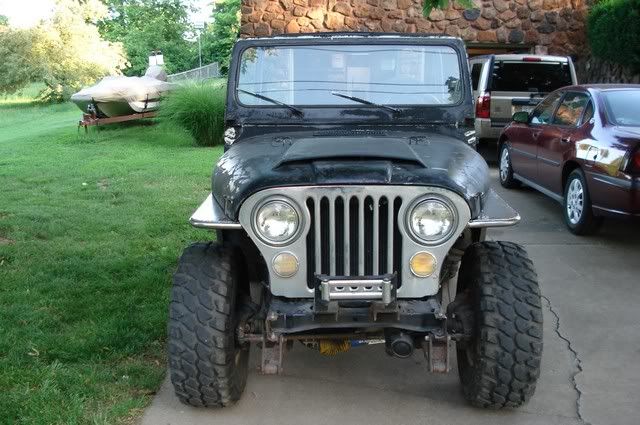
A look at the fenders from the front.
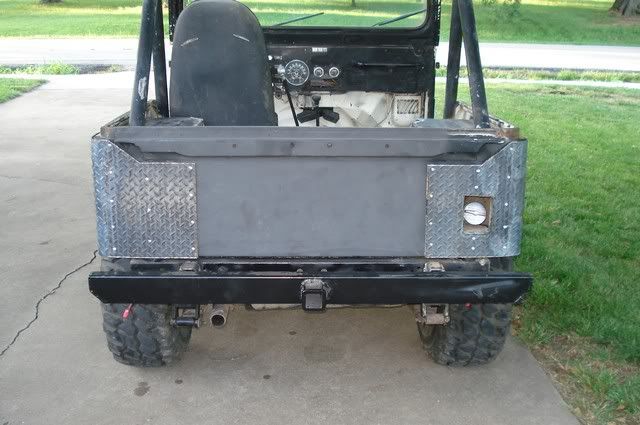
Rear shot after corners got bent.
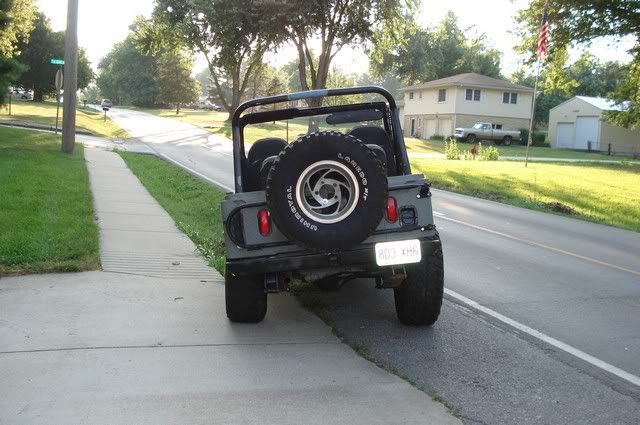
The new tail lights that I installed. Whoever wired this thing up before I got it had it all cobbled up. (PITA)
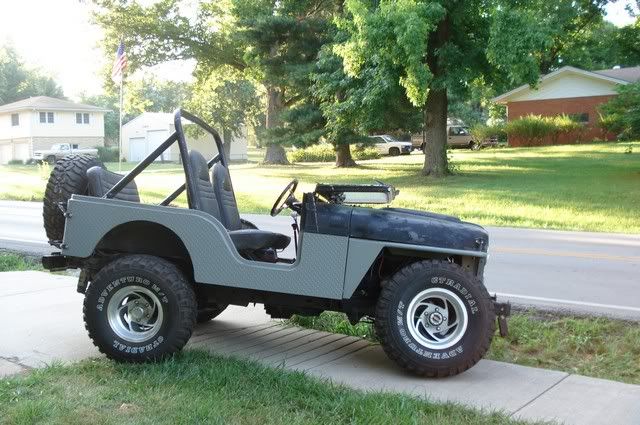
Poser Flex, right after I took off the sway bar.
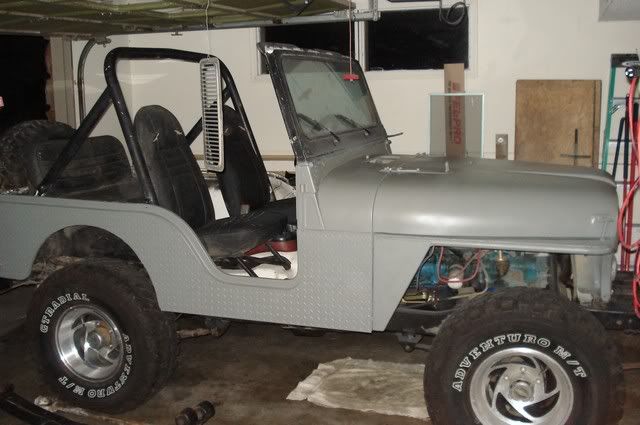
All primed up, and ready to reinstall hood scoop and cowl vent.
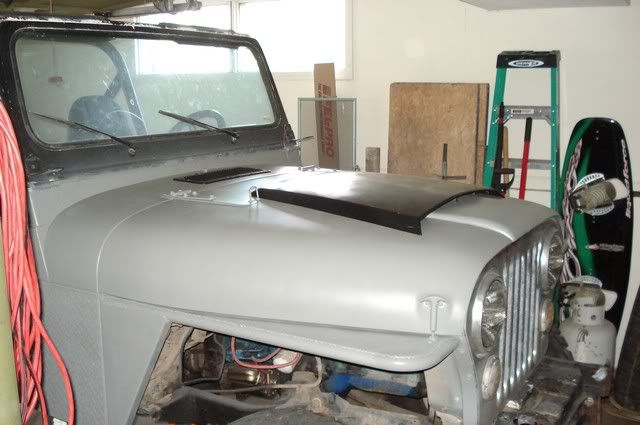
With scoop and cowl vent cover.
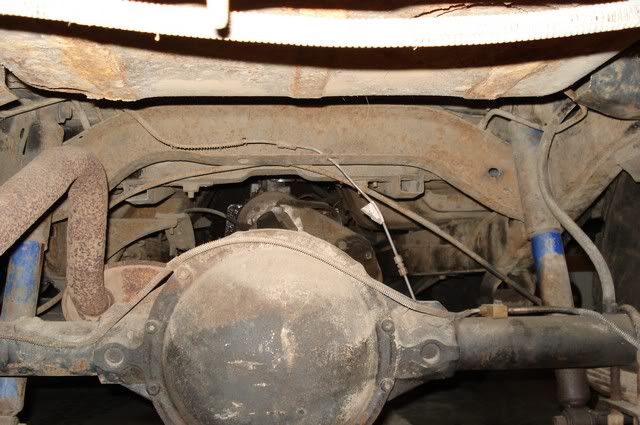
I gained about 8 inches of clearance from the bottom of the gas tank to the top of the pumpkin with the recess.
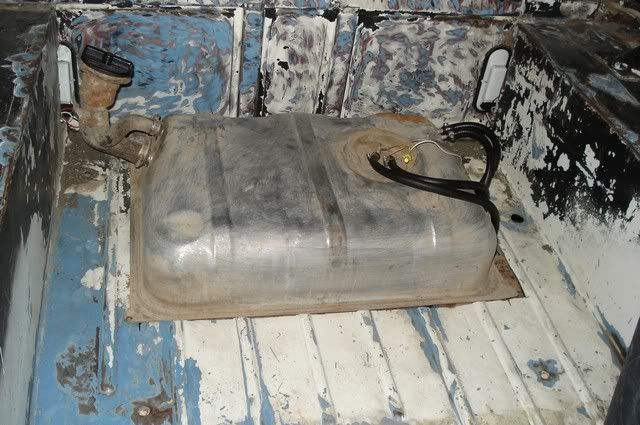
The tank in its final location.
Thanks "Lonewolf" for showing me how to post pics - much appreciated!