I am new here and I wanted to add a little contribution. It is a different method from others I have seen.
Here goes......sorry about the pics, they were taken from a cellphone.
OK, here is a rough step by step on how I rolled up my rear wheelwells......
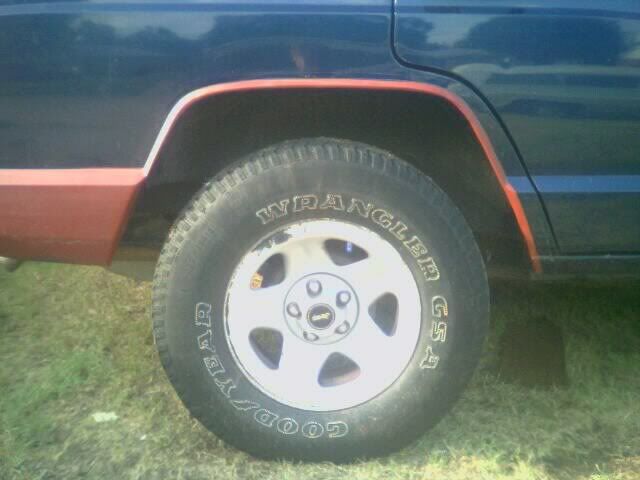
This is what the fenderwell on a 2000 XJ looks like after fender flare removal....

If you look closely, there are little dimples in the metal. These are pinch welds that weld the outer skin to the underside. Do not cut past these welds or you will have water and mud come inside and also weaken the strucure a little. Here is a fuzzy pic of the pinchwelds...

Step 1: Tape off anything you dont want to damage with sparks. Be careful as to where you kick the sparks because they will put pits in your windows. I ran the tape just below the pinch welds and used the tape as a guide for cutting.


Step 2:Get your right angle grinder with a cutoff wheel and safety glasses, because the cutoff wheels can do this...
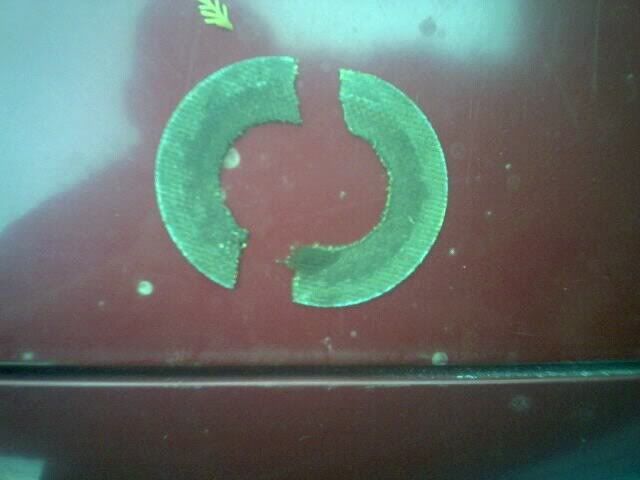
...and if your eyes are exposed, you can imagine what could happen, not to mention all the metal that will be flying around, you cant enjoy your Jeep when your blind.
Take the grinder and cut along your marked line....like so.....
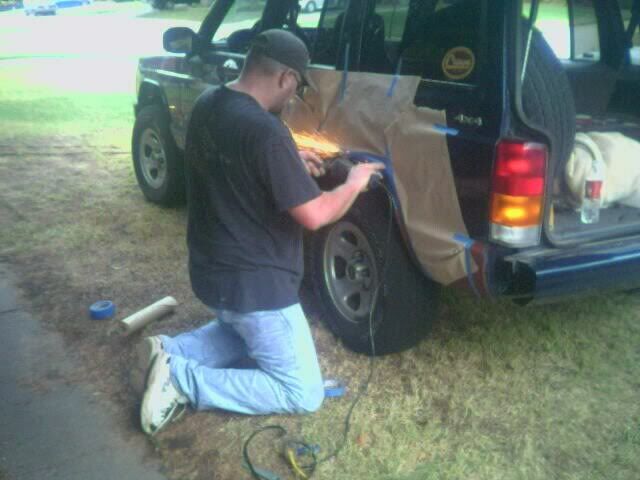
Be careful around the corners not to bind the cutting wheel or it could explode. Make several cuts at different angles to get around the corner.
Step 3: Remove all the tape and paper and drink a beer.
Step 4: Make some relief cuts at the corners like this.......

I made 3, as you can see. You could make as many as you feel comfortable with. Keep in mind these cuts go above the welds so they will need to be tack welded or filled somehow. The less cuts the better IMO.
Step 5: Get an aluminum baseball bat and wedge it in between the tire and the fenderwell and roll the bat repeatedly against the metal to get it tucked under as far as you can.......
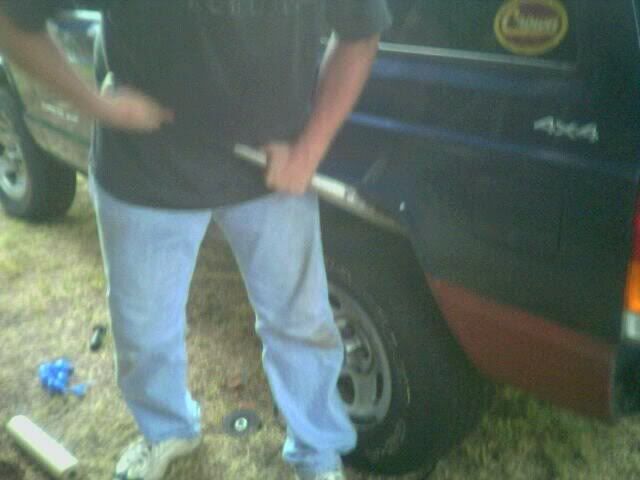
This is the point your paint will chip really bad.....

Step 6: Get a rubber mallet and a ball peen hammer.....

Remove your tire and tap the metal the rest of the way until it is flat with the underside of the fenderwell, start with the mallet until its close and then finish with the ball peen...
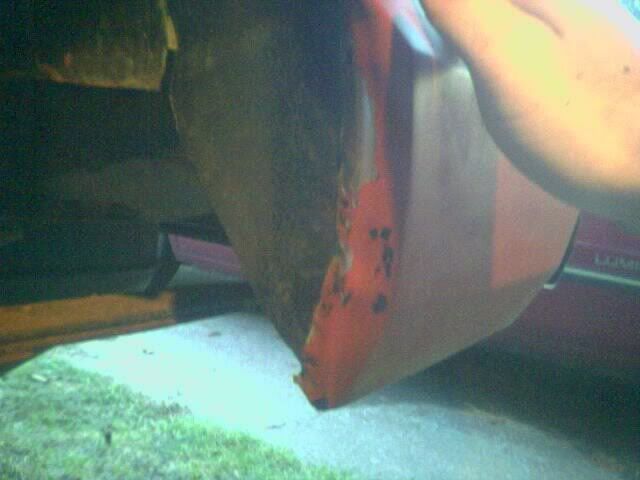


Step 7: Tape off the area again. I ran the tape just above the fender detail line....
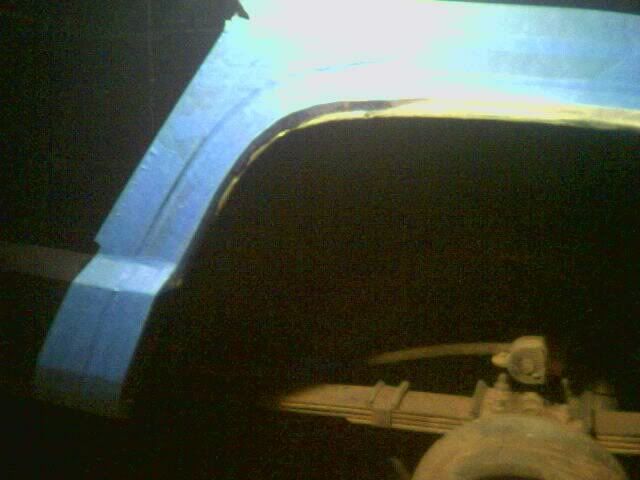
Now you are ready to sand the places where it chipped to remove the rough edges of the paint chips, I used an orbital sander with 80 grit paper...

Step 8: Clean the sanded area, replace any tape you may have buggered up with the sander, then primer the area.
You should be pretty happy with the results, I know I was.....
